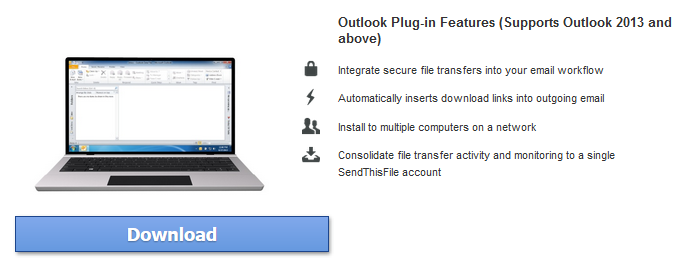
This article contains information on how to download and install the SendThisFile Outlook Plugin. (Supports Outlook 2013 and above.) For Enterprise users, there are a few extra configurations to make, which are presented at the end of this article. We also offer articles with an overview of the plug-in, advanced installation tips, as well as how to use the Outlook Plugin.
Installation Steps:
1. Sign in to your SendThisFile account and from the File Sending page, click on the Outlook Plugin menu option. (This menu option is only available to Professional Plans and above.)

2. Click the blue download button:
3. Close Outlook and open/install the Outlook plugin file that you just downloaded. Once the installation has completed, open Outlook.
4. Click on the SendThisFile tab inside of Outlook, then click on the SendThisFile logo icon on the left:
5. Sign-in using your SendThisFile email address and password.
*Note: if you do not have SendThisFile sign-on credentials, contact your administrator.
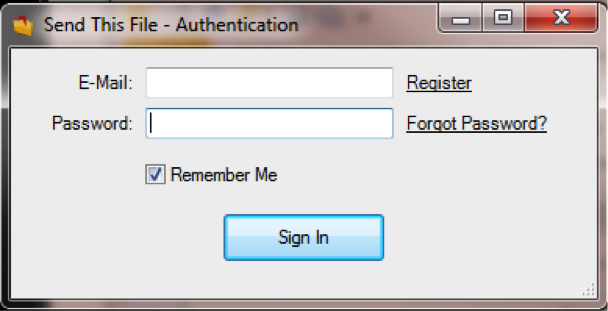
6. After signing in successfully, the SendThisFile icon will show ‘Connected’. Make sure the default account is set to the email affiliated with your SendThisFile login:
7. To test, send an email to yourself or another email address for testing purposes, attach a file and click Send. 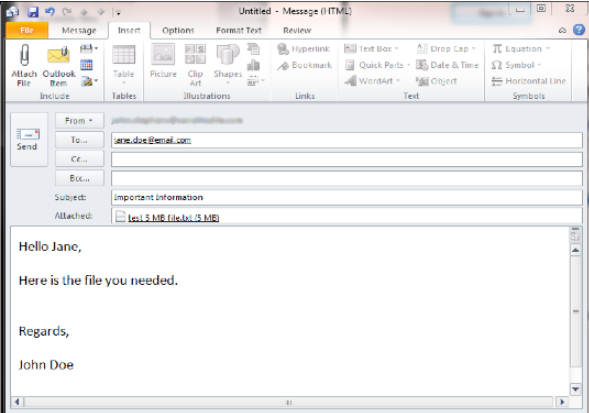
If the file attachment exceeds the minimum file size, the “Message Transmit Options” window will appear:
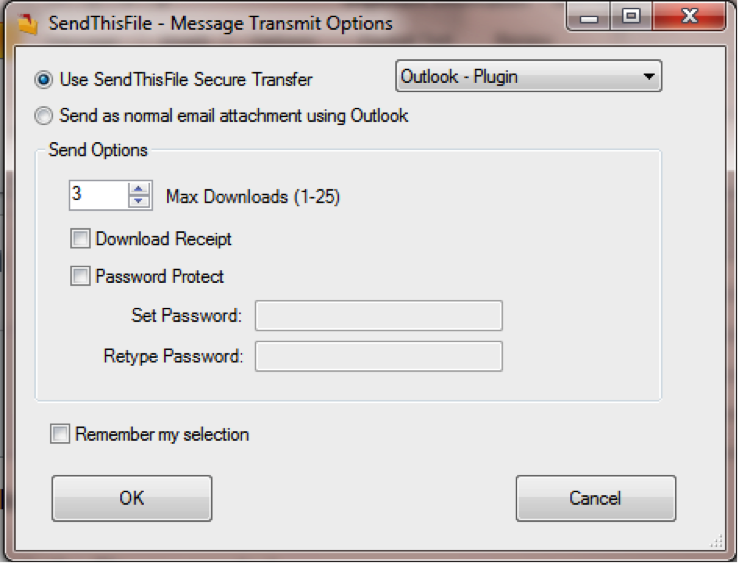
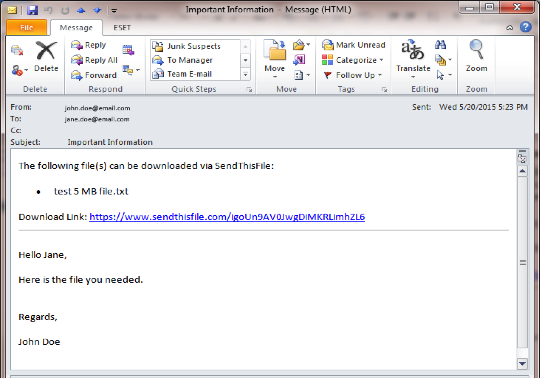
8. Make sure the “Use SendThisFile Secure Transfer” is selected and click OK. The window and email will close and the file will be uploaded securely to SendThisFile. Once uploaded, the file attachment will be stripped from the email and a link will be created. The recipient will get an email that looks like this:
Additional Configuration Steps for Enterprise Users
You will need to configure the plugin to disable the personal file sending option for the user. This will ensure that all files sent using the Outlook plugin can be managed by the administrator of your SendThisFile account.
1. Shut down Outlook.
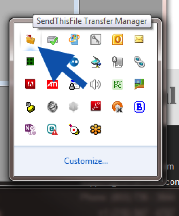
2. Shut down the SendThisFile Transfer Manager by right-clicking on the icon in your system tray (notification area) and then clicking exit:
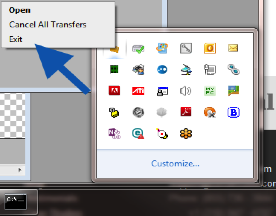
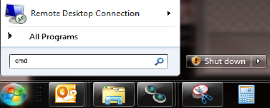
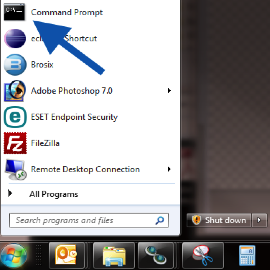
3. Open a command window, click on Start and type in the search box. Open the Command Prompt.
The Command Prompt will look like this:
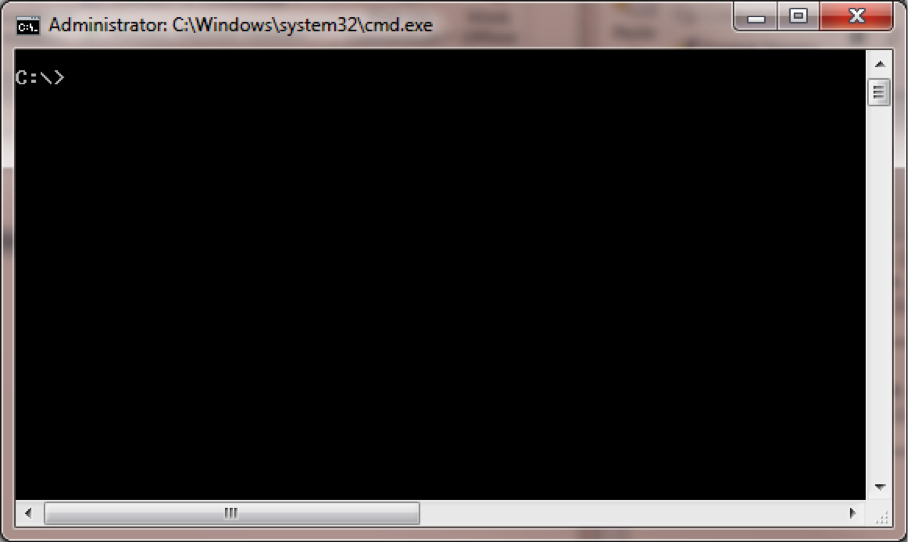
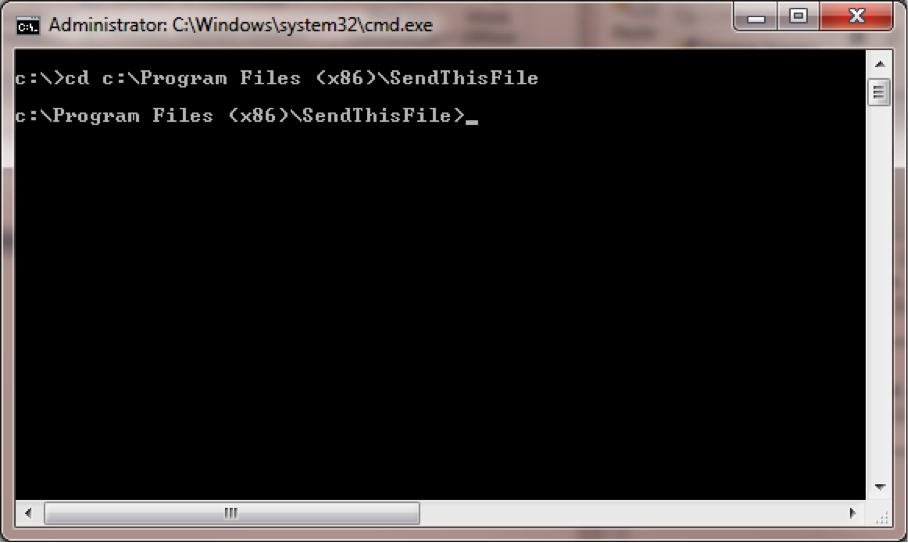
4. After the c:\> type:
cd c:\Program Files (x86)\SendThisFile
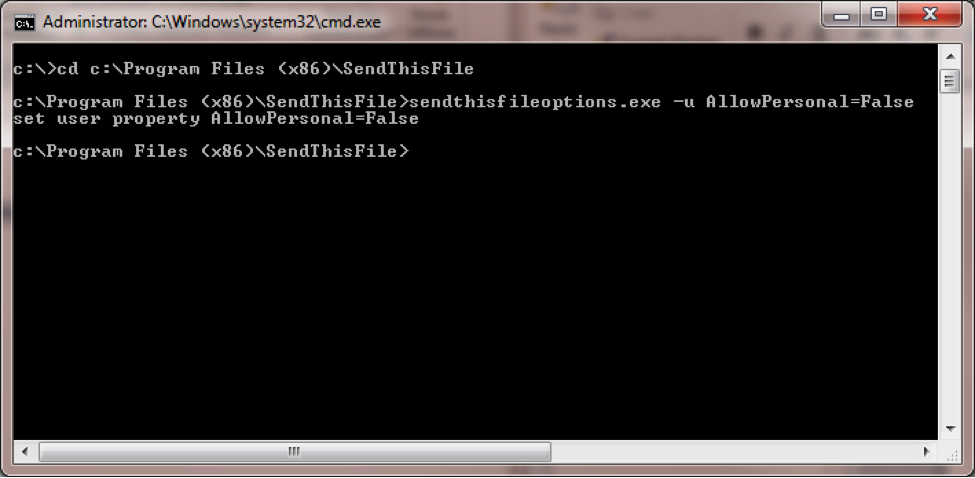
4. Remove the option to select the personal upload form by typing the following:
c:\sendthisfileoptions.exe -u AllowPersonal=False
5. Close the Command Prompt. Start Outlook, which will automatically start the Transfer Manager during this process.
To add multiple users to your Enterprise plan:
For multiple users, follow these steps:
- Sign into your account at SendThisFile
- Click the “Enterprise” menu option
- Click on the “Users” sub menu option
- Click either the “Manage” button, or the name of the branded form that your users will send their files through.
- Enter their email address.
- Click add.
Once the Outlook plug in is installed on the users’ PCs:
- Open Outlook
- Click on the “SendThisFile” menu option
- Click on the SendThisFile icon on the Outlook menu
- Enter the email address and password.
For more advanced setup options, try the tutorial on advanced installation. We also have a basic tutorial on using the Outlook plugin.


